Screen Shots in Word
- Adding screen shots to a word document is often useful.
- In the office book
- Chapter 4 of the book discusses Using and Creating Graphics
- Page 81 discusses the screen shot feature.
- There is a discussion of Inserting Pictures in Word starting on page 171
- I will be working with this report. A little dry, but it will serve the purpose.
- To insert a screen shot into a document
- You must have the document open. It is best to have the cursor where you want to insert the image.
- I want to insert a picture of a superhero in the Question section of this document.
-

- So place the cursor after the word villain.
-

- Using some other tool (a web browser in this case) find the picture you want.
- Click on the Insert tab of the Ribbon
-

- Tab and Ribbon are defined on page 22 of the book.
- We will discuss these in more detail later.
- Select the ScreenShot dialog box launcher in the Illustrations command group.
-

- dialog box launcher and command group are also defined in the book.
- This will bring up the Screen Clipping Dialog box
-

- You can choose from the windows that are open.
- Or take a free style clipping.
- I want to do the latter, so I will select Screen Clipping
- Two things will eventually happen
- The word window will minimize (disappear)
- The screen will turn white and the cursor will turn into a +
-

- Once this happens, select the area of the screen you wish to capture.
- Right click and hold to start.
- Drag over the area you want.
- Release the right mouse button.
- The image will appear in your document.
-

- Adjusting the Image
- The layout dialog box is accessed by clicking on the icon to the the right of a selected image.
-

- This allows you to change the way the image interacts with the document.
- You probably want to change this to allow you to move the picture where you want it.
- The context dependent Picture Tools tab allows further formatting of images.
-

- More on this later.
- But cropping is sometimes helpful when you have a bad screen shot.
- And for some reason, I like to remove the background.
- So a truly bad image in a report, but probably not bad for a comic book would be:
-

- See if you can reproduce this in word.
- It is nice to be able to highlight something with shapes.
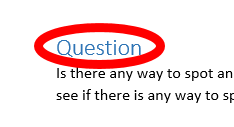
- Let's circle the heading Question
- On the Insert tab, Illustrations command group select the Shapes Dropdown.
-

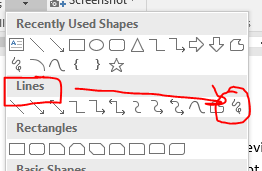
- On this menu, select a shape you want to use.
- I will use the oval.
-

- Just draw a box over the text you want to circle.
-
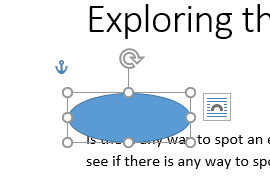
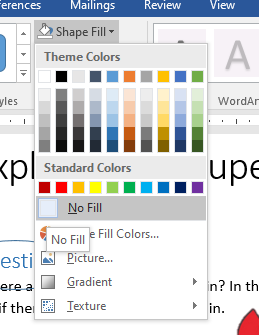
- In this case, the box covers the text, so modify the properties.
- On the Drawing Tools: Format special tab
-

- Change the Shape Fill to be No Fill
-
- Change the Shape Outline Color to be red.
-
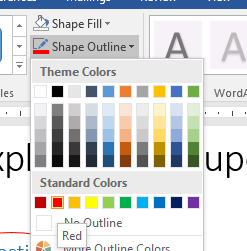
- You might want to change the Shape Outline Weight as well.
- This is what you want to have when you finish.
-
- You can use any predefined shape
- Or the Scribble shape to make your own.
-
- Mixing images
- I'd like to place a box around the Super Hero's head.
- Add another shape over the picture.
-
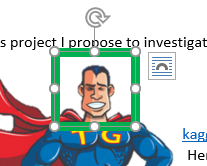
- The problem is that if we click on the superhero picture, the box will be no longer be accessible.
- This is because the box image will be behind the superhero picture.
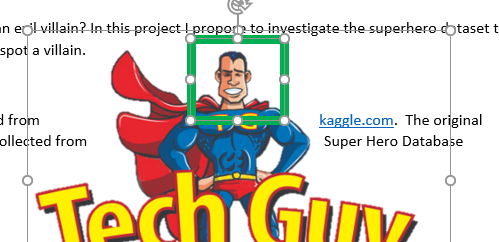
- Right click on the box and select Bring To Front
-

- A second problem.
- We would probably like the superhero image and the box to move as a single unit.
- We need to group the images.
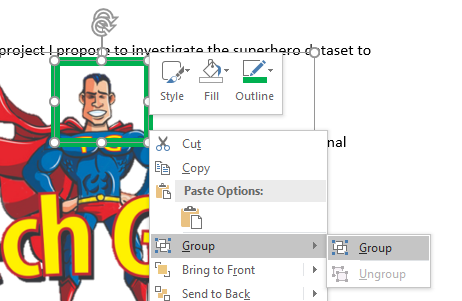
- Click on the superhero image to select it.
- Press control and click on the box to add that to the selected group.
-
- Right click on the selected group and choose Group to combine these images into a single group.
-
- From now on, I will assume you can add screen shots and use the shape tools in your documents.
- You will need to do this for homework 2!


