Starting with Blueprints.
- Your next "reading" assignment will be AEC Blueprints by Example.
- This is just about two hours of video
- And two quizzes.
- This is a reasonable tutorial where he works through four different products.
- A door that opens when you approach and closes when you walk away.
- A light switch capable of switching multiple lights.
- A construction tool that snaps a light to the surface above it.
- A chair where the materials can be swapped by the user.
- It introduces a number of very useful concepts.
- This is definitely a hands on lesson
- You will need to get the demo material.
- Instructions for getting this is on page two of material.pdf
- This will place a new material in your vault.
- Starting the demo project
- In my case, it wanted to install with a bad name.
- Unreal apparently shortened the maximum length of names recently.
- So when you start the new project, change AECBlueprintsbyExample to something shorter.
-

- Before you get started
- Keep in mind that this is a very object oriented system.
- When he talks about constructors, it is an object constructor.
- There are many different "nodes" that are available for constructing a blueprint.
- These are equivalent to the
- Control constructs of a language (if, for, ...)
- Set of functions in a language (cos, pow, ...)
- Add on libraries.
- What is more, we will build our own extension nodes in c++
- You will need to
- Know the different nodes available
- Understand how these nodes work.
- In the first case:
- the search functions are "helpful"
- And there is context dependent help.
- But you just have to "learn" these nodes.
- In the second case
- The on line documentation
- you will also lean some "algorithms"
- Notice in the video how he stresses the importance of
- Design
- Testing
- Small code
- Also notice how he is very careful to keep his program neat.
- Let's build a simple object that changes text as we approach.
- Talk about the design.
- Step 1, make a new actor object blueprint.
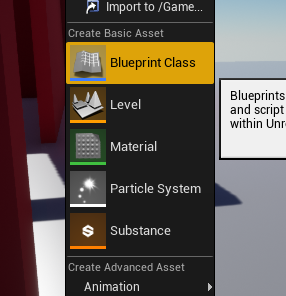
- Click in the Content Browser and select Blueprint Class
-
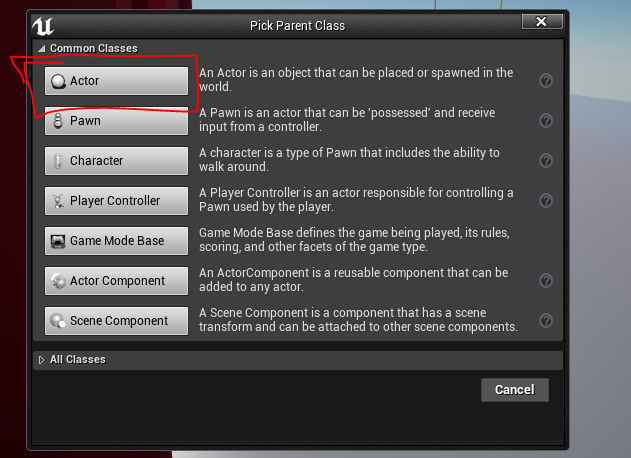
- Select Actor
-
- I called this ChangingText_BP
-
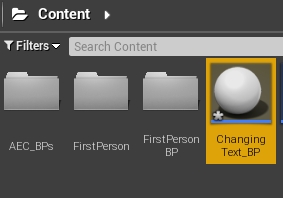
- Double click on this to open the blueprint editor on this blueprint.
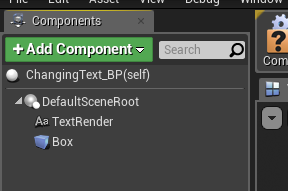
- I added a Text Render object
- I added a Box Collision object.
-
- I want to explore, so I will build an constructor.
- Click on Construction Script
-
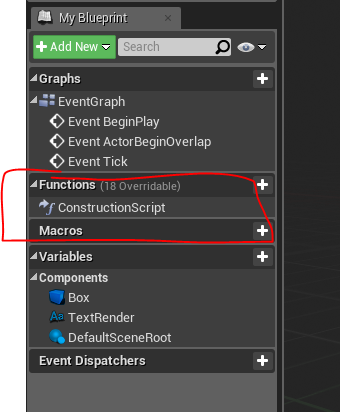
- This will open up the construction script editor with a single node in the graph.
- The Construction Script node
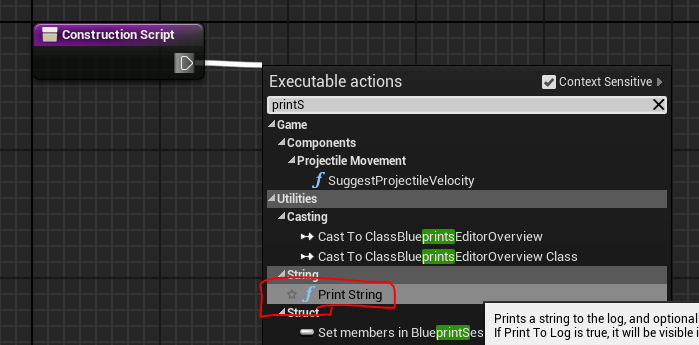
- Has a single output, a flow of control
- Drag this off and add a print string node.
-
- Change the text.
-
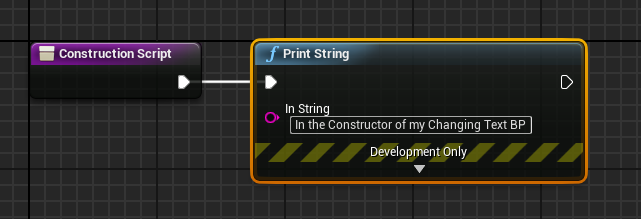
- Save and compile this blueprint.
-
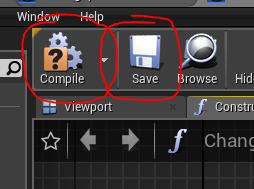
- Go back to the FirstPersonExampleMap and add this object.
- Notice the constructor is called when the object is
- We probably don't want it writing all the time so delete the print string node.
- But remember it, it is essentially our cout statement for debugging.
- Add an array of text.
- In the variables section, click on + to add a new variable.
-
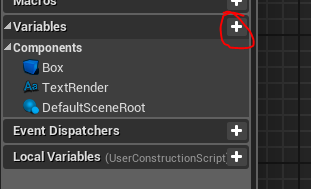
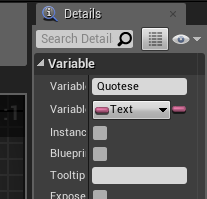
- Call it Quotes
- In the Details panel on the upper left
- Change the type to be array of text.
-
-

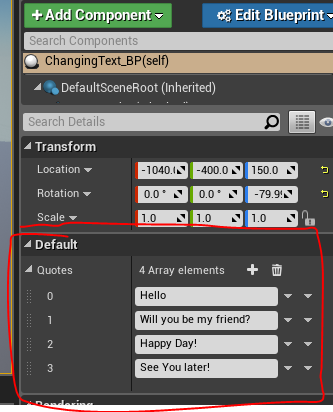
- Save and compile, this will make it so you can predefined values.
- Click on the + sign and add 4 spaces to the array.
-
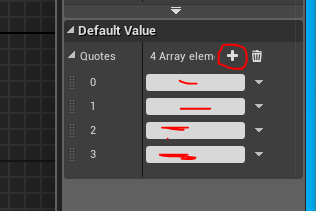
- Fill in the spaces with some snappy sayings.
- This has just declared a local variable to the class.
- Add an index variable as well.
- Integer.
- Scalar
-
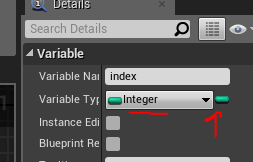
- Don't worry about an initial value, we will set it automatically.
- Setting the index variable
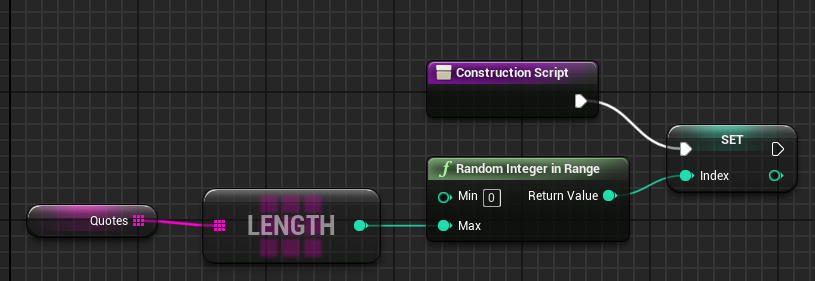
- Drag the Quotes variable onto the blueprint.
- Select Get Quotes
- From the data tab, drag a line and select Length
-

- Drag a line from length, select Random Integer in Range
- Connect length to the max.
- Set the min to be 0.
-

- Finish by setting the index variable.
-
- Set the value of the text to display
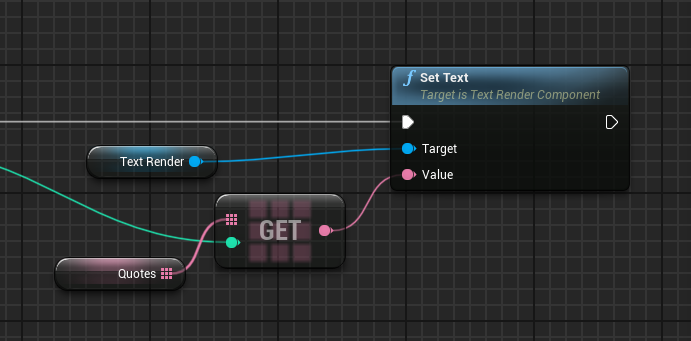
- I will drag down a reference to Text Render
- Drag and get a Set Text node.
- Just to be clean I will add another instance of Quotes
- Drag and get a Get node
- Connect
-
- Save, compile, run game. Move object, ...
- Mark the Quotes variable as Public by clicking on the
icon to the right of the variable, or in the box.
-
![]()
-
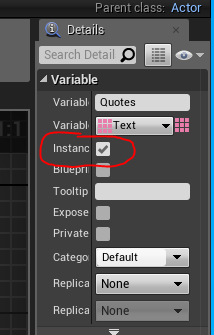
- This will make it so you can edit an instance of the object.
-
