Just Enough XP
I understand that some of you might be better at XP than I. I don't care how you accomplish these tasks, just that you are able to accomplish them. If you know an easier way, please do it. (Besides, it will all change with VISTA anyway)
These screen shots are from my home machine. Your machine will be different.
(For example, I bet you don't have Dungeon Siege on your machine)
This is really something to become accustom to. Things change, but you should
still be able to use the machines.
- Starting Applications
- Some applications have icons on the desktop, just click them.
-
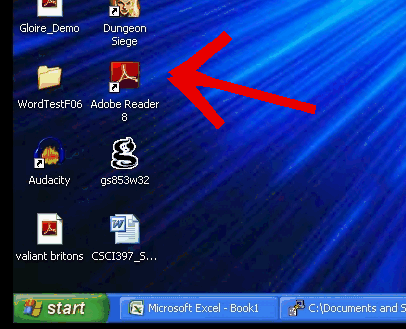
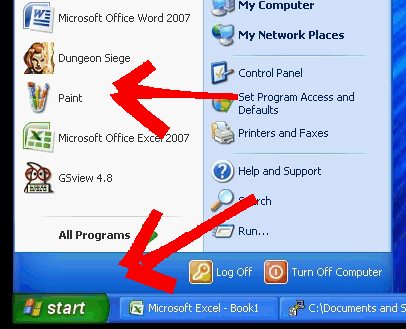
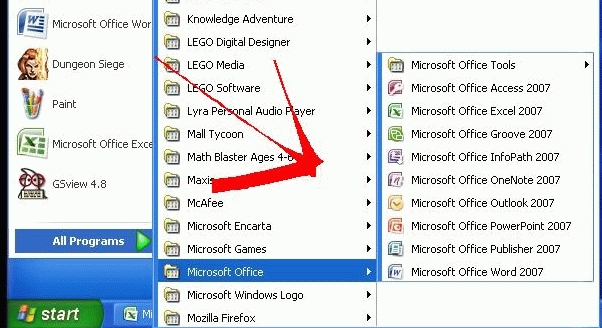
- Some applications can be started directly from the start menu.
- This contains frequently used applications.
- As well as some that are there more permanently.
- Just click on the start menu and then on the application.
-
- Finally, some applications must be started through the program menu
- Click on the start button.
- Click on the All Programs button to bring up a list of applications.
-
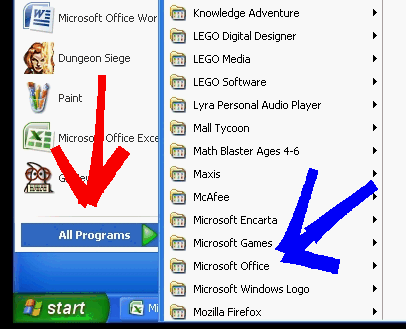
- You may need to click on a program group to bring up an additional menu.
-
- Managing the Desktop space.
- The windows desktop contains a taskbar at the bottom of the screen.
- This includes a workspace manager that contains a list of currently running applications.
-

- The active application is marked.
- Start a couple of applications and notice that they appear in the workspace manager.
- Click between applications and notice how the active application is highlighted in the workspace manager.
- Left clicking on the application entry will either iconify or deiconify that task.
- If we right click on the task application image in the work space we can activate a menu with additional choices.
-
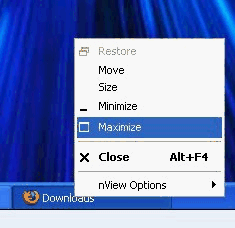
- try this.
- We can also minimize an application by clicking the left most button on the right side of the window.
-
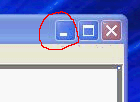
- try this.
- The rightmost button of this group will exit an application.
-
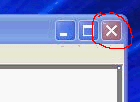
- Resizing Windows
- We often want to change the size of a window.
- We can tell windows to cover the entire screen with the application.
- This is done via the middle button of the set.
- In this State, the window has not been set to the screen size, by pressing the button, it will be resized to.
-
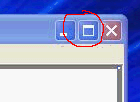
- In this state, the window is set to be the screen size, pressing the button will return it to the previous size
-

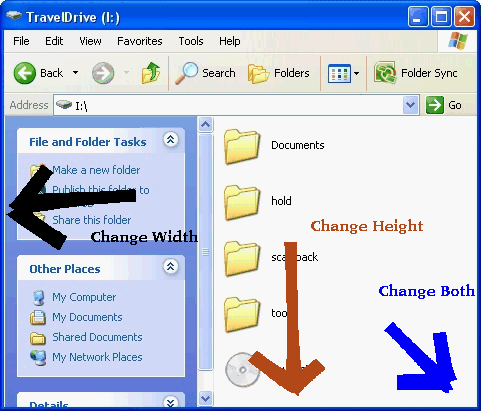
- Windows can be resized by grabbing any edge.
- When you do this the cursor will change to an arrow indicating the directions you are allowed to resize from this position.
- By grabbing a corner you can change the width and height.
- By grabbing a side you can change the width
- By grabbing the top or bottom you can change the height.
-
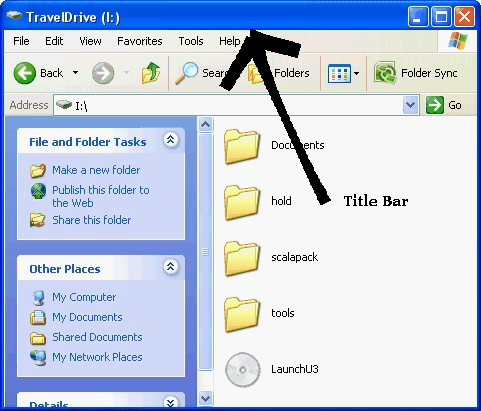
- You can move windows about the screen by grabbing the title bar
-
- If you haven't been, do these things.
- Navigating the File System
- Windows organizes the file system primarily by drives.
- You can see the drives by clicking on the My Computer icon on the desktop (if it is there)>
- Or by clicking on the My Computer choice on the start menu.
-
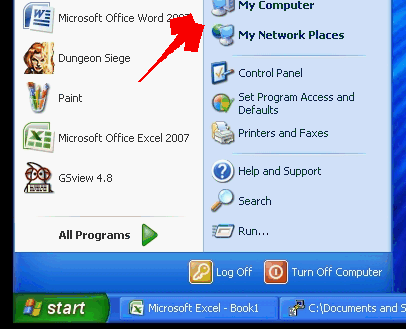
- That will bring up a list of drives something like this:
-
![]()
- Notice the S: drive, as well as any media that you have added.
- I will look at my Travel Drive (I:) for the next few examples.
- Left clicking on the drive will open it.
- A single right click on the drive, you can bring up a menu
-
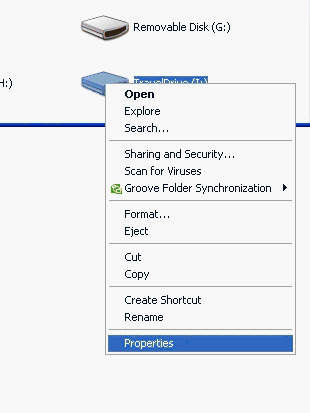
- Notice you can eject this drive from here since it is a usb travel disk.
- Click on properties.
- This displays information about the drive.
-
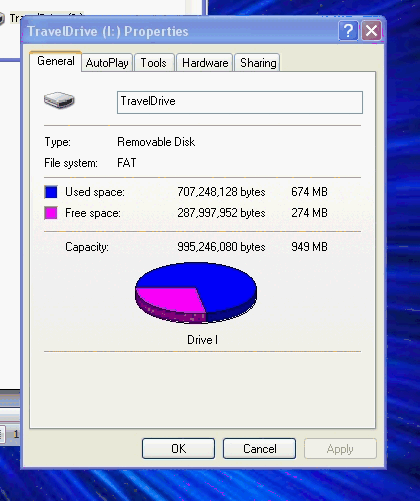
- Take some time to explore the options here.
- Managing Files
- A secondary way to organize files is by creating folders on a drive.
- Right click on the S drive or your usb disk to open it.
- You may have an empty screen or there may be some files there already.
- Right click on the window outside of any of the drive icons.
- This will bring up a menu like this:
-
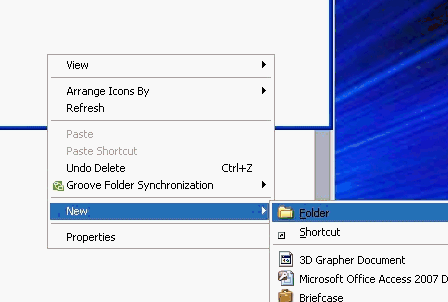
- A new folder will appear titled New Folder
- To rename the folder to something more sensible (like CSCI 104
- Right click on the folder.
- Select Rename
-
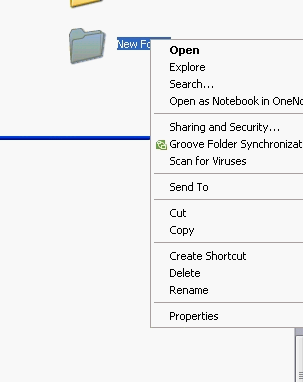
- This will allow you to edit the name of the folder
-
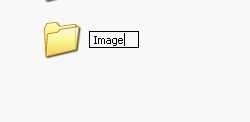
- Just edit the name. (backspace, type etc)
- We need to get some data to play with.
- Go to my web page.
- Go to the class page.
- Click on the Data Sets choice on the menu
-
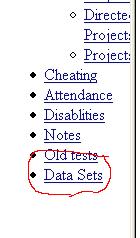
- Click on the Student Data Sets link.

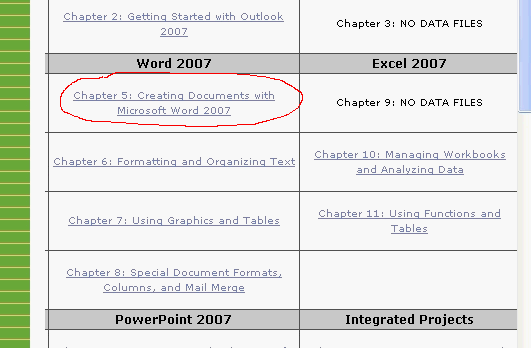
- Right click on the Chapter 5 link and select save Link As ....
-
-
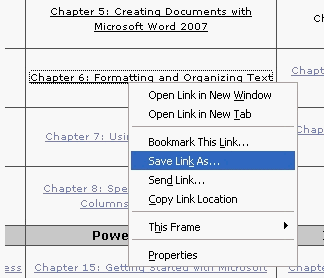
- This should bring up a window that looks like this.
-
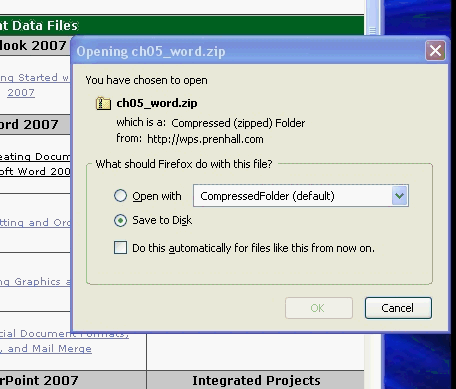
- Save this on your S drive, or usb drive.
-
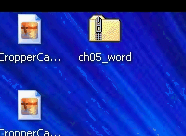
- I saved my copy on the desktop, you can do this, but the S: drive would be more appropriate.
- Double clicking on this icon will open the folder using the zip utility.
-
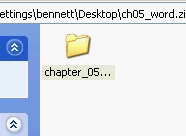
- Drag this folder to your S or usb drive.
- XP gives us a number of ways to look at files inside of a folder
- This is all controlled by the Views Button at the top of the Windows Explorer window.
-

- By selecting different views, we can look at the files in a directory in different ways.
-
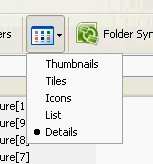
- Most of the time the Icon view is the default.
-
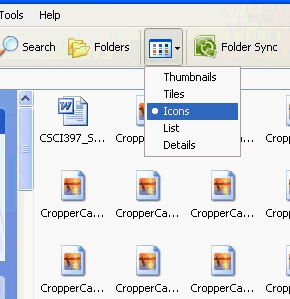
- The Tiles is more useful than the icon view.
-
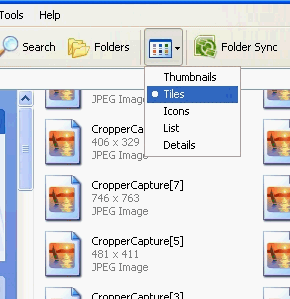
- I find this less informative. Try it out.
- The Thumbnail view is useful when working with images.
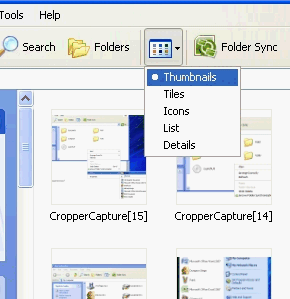
- The list view is usually not as useful either.
-
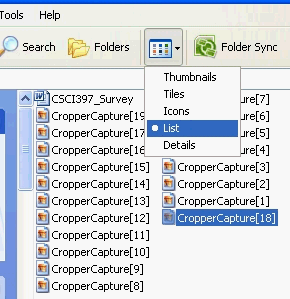
- The Details view contains the most information, but it is more complex to use.
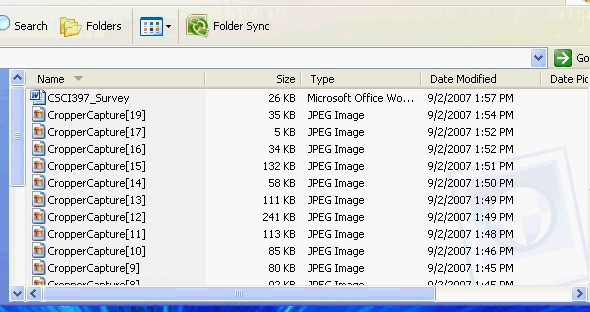
- The List of the files can be sorted in any number of ways.
-

-

-

- This last method is most useful when you are looking for a file you just worked on.
- Searching for a file.
- Pressing the Search Icon will bring up the search menu.
-
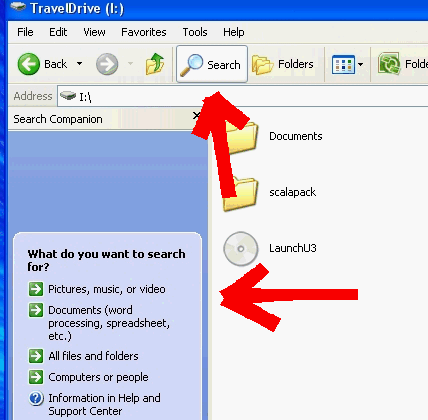
- You have a number of choices of files you wish to search for.
-
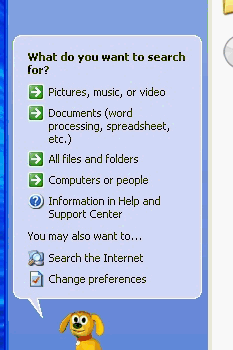
- Selecting a type of search brings up the following dialog.
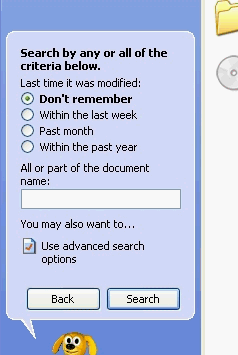
- As the search proceeds you will see first
-
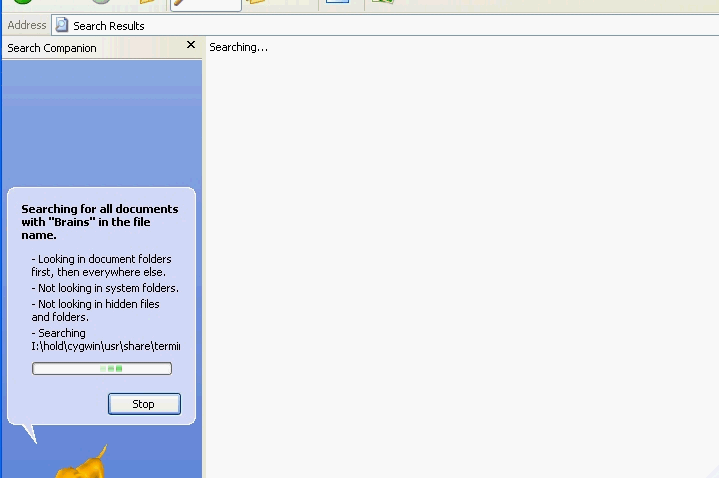
- And then finally:
-
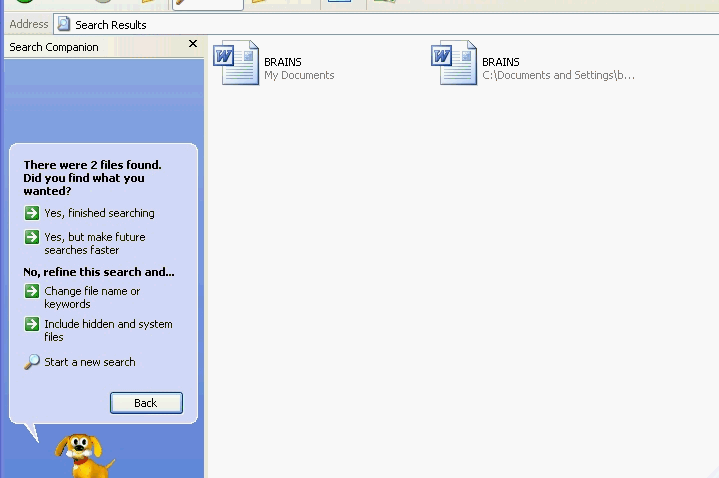
- Notice the documents on the right that match the search.
- You can move, copy or open any document that you find.
- Other File View
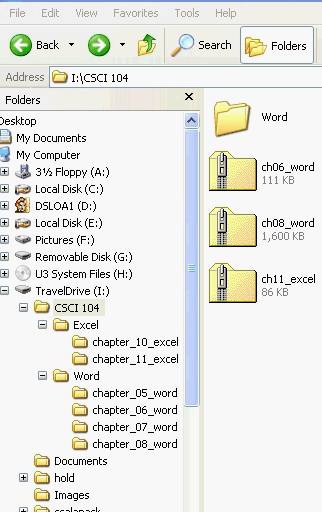
- Clicking on the Folders icon will give you an alternative view of the file system.
-
